

Try listing everything in your kitchen from memory. The large appliances are easy. The cookware, small appliances, utensils, and items behind cabinet doors are harder.
Now imagine doing the same exercise for every room after a disruptive event.
A home inventory creates a record while you can still see what you own. The National Association of Insurance Commissioners explains that an accurate inventory provides information an insurer can use when settling a claim. content.naic.org
You do not need to finish the entire home in one sitting. Start with one room and build a record you can find, understand, and update.
1. Give Each Room Its Own Record
Use a spreadsheet, document, notebook, or inventory tool you already understand. Create a section for each room, plus separate sections for storage spaces where relevant.
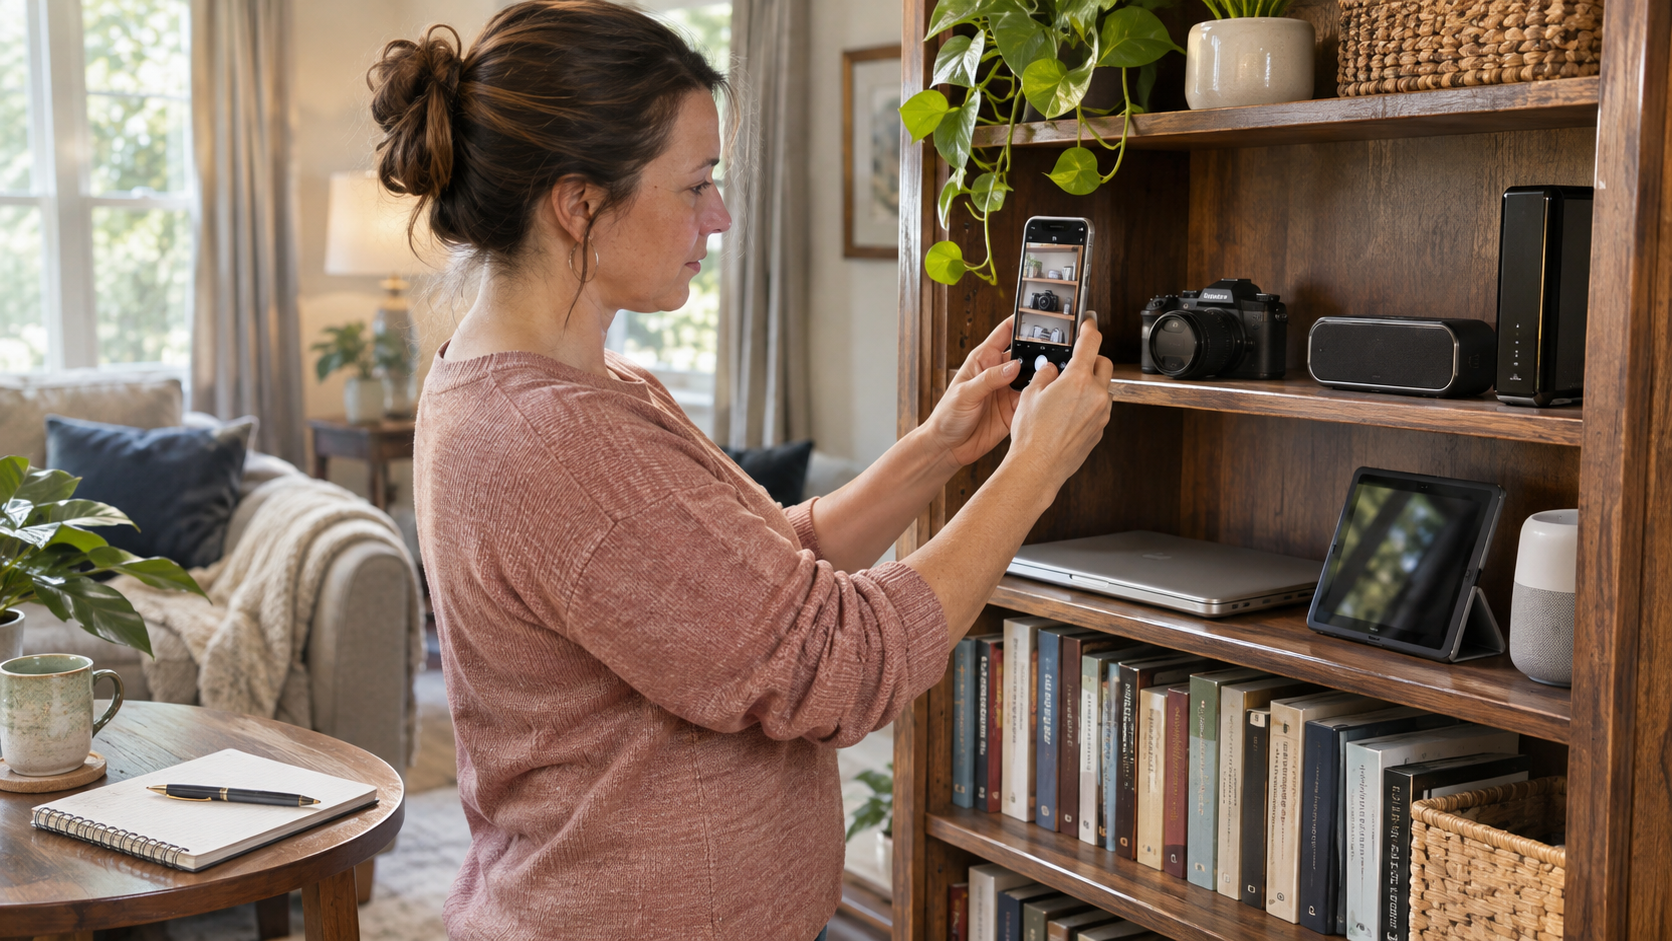
Begin with an overview photograph. Then take clearer images of individual belongings and groups of smaller items.
A wide room photograph shows context. A closer image helps identify a particular object. Use both where useful rather than expecting one distant photograph to capture every detail.
Choose a consistent naming pattern, such as:
- “Living room — bookshelf — overview”
- “Living room — television — model label”
Keep related records together so a future reader can connect the images with the descriptions.
2. Add Details That Distinguish Similar Items
A description such as “black laptop” may be too vague to identify the item later.
Where available, record the brand, model, serial number, purchase date, and amount paid. Keep receipts or other supporting records alongside the relevant entry. NAIC consumer guidance recommends these kinds of details and photographs when building an inventory. content.naic.org
Record what you know accurately. Mark an approximate date as approximate, and distinguish a remembered amount from one supported by a receipt.
Do not replace an unknown purchase price with a current online listing and present it as the original amount paid. If you save reference information, label what it represents and when you checked it.
3. Include the Places You Usually Forget
The visible furniture is only part of a household.
Open accessible drawers and cabinets during ordinary, safe conditions. Include closets, hobby supplies, tools, seasonal decorations, and belongings in separate storage.
Oklahoma’s emergency management guidance specifically reminds households to include sports equipment, tools, holiday decorations, and items kept in storage facilities. Oklahoma Department of Emergency Management
For shared homes, clarify ownership. A roommate’s computer, a borrowed tool, and your own belongings should not become indistinguishable entries. Add an owner field when it helps.
Avoid moving heavy appliances or climbing into difficult areas just to photograph a label. Use existing records or leave a clearly marked follow-up task.
4. Separate Documentation From Coverage Questions
An inventory records belongings. It does not establish whether a particular event or item is covered or determine a claim payment.
Keep policy questions in a separate list for your insurer or licensed insurance professional. For example:
- What documentation should I retain for particular belongings?
- Are there special limits or requirements I should understand?
- How should I document items used for a home business?
- Where can I find the current claim-reporting instructions?
Save the answers with their source and date. Your own policy and circumstances determine which questions need attention.
5. Make the Backup Part of the Task
A finished inventory stored only on a device that stays at home leaves an obvious access problem.
Choose a protected backup arrangement that you understand. Oklahoma emergency management recommends storing an inventory where it can be accessed after a disaster and keeping digital records regularly backed up. Oklahoma Department of Emergency Management
Check the practical details: can you sign in from another device, find the correct folder, and open the files? If someone else may need access, agree on an appropriate arrangement in advance.
Treat the inventory as private. Photographs may reveal valuables, addresses, documents, or household routines. Review sharing permissions and keep unnecessary sensitive details out of the images.
6. Use a Simple Inventory Worksheet
| Field | What to record |
|---|---|
| Room or storage location | Where the item normally belongs |
| Item and owner | Clear description and ownership, if relevant |
| Identifying details | Brand, model, and serial number when available |
| Purchase information | Date and amount paid; identify estimates |
| Supporting records | Photograph names and receipt location |
| Last reviewed | Date the entry was checked |
The worksheet is a starting format. Ask your insurer whether additional documentation would be useful for your circumstances.
7. Update When Something Changes
Add a new entry when you acquire a significant item. Mark sold, donated, or discarded belongings so they do not remain listed as current possessions.
After a move, check locations and the backup arrangement. A folder full of old room names can become confusing even when the photographs are still useful.
Start today with one room. Take the overview, document a few items clearly, and confirm that the backup opens. Repeat the same process until the household record is complete.